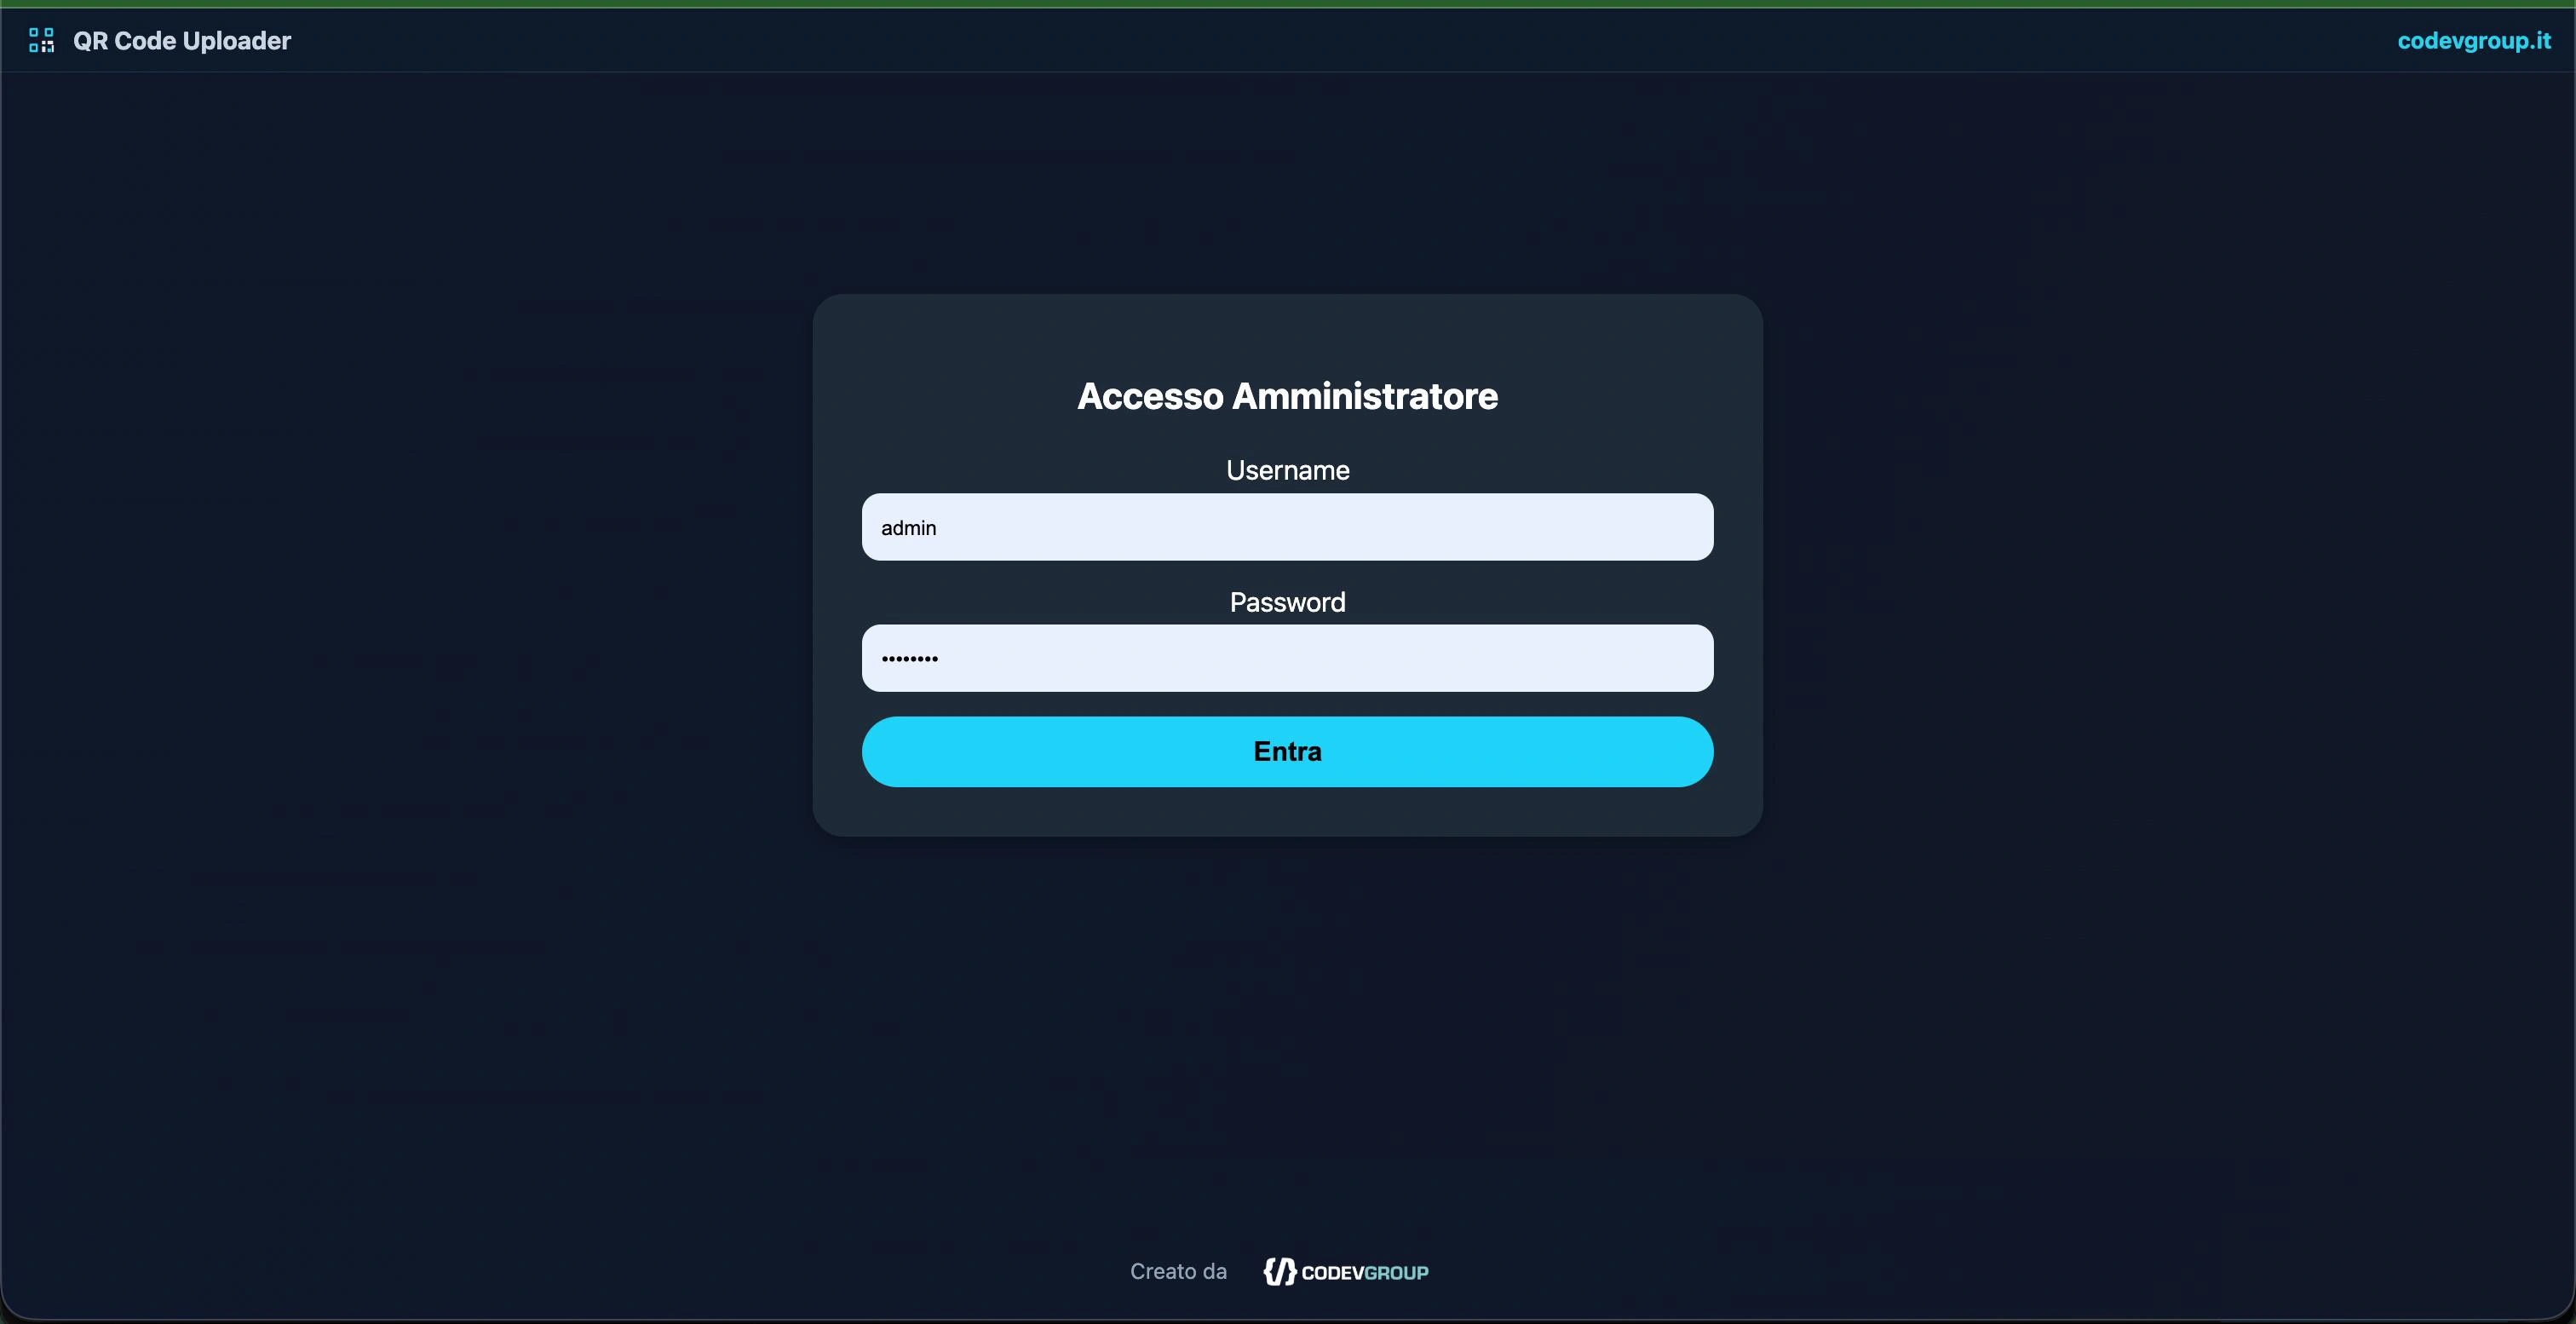
Step 1
Log into the panel
You sign in with a username and password. On first login you use the initial ones, then change the password right away.
 v5.0 · online
Perfect for catalogs, menus, displays and product sheets: upload an image and instantly get a public link and a printable QR code. Customers scan it and see it. Free.
Free · install it yourself (with Docker or on your web hosting) or we'll set it up for you, ready to use.
Here's what you see once it's installed. Click any screen to enlarge it.
You sign in with a username and password. On first login you use the initial ones, then change the password right away.
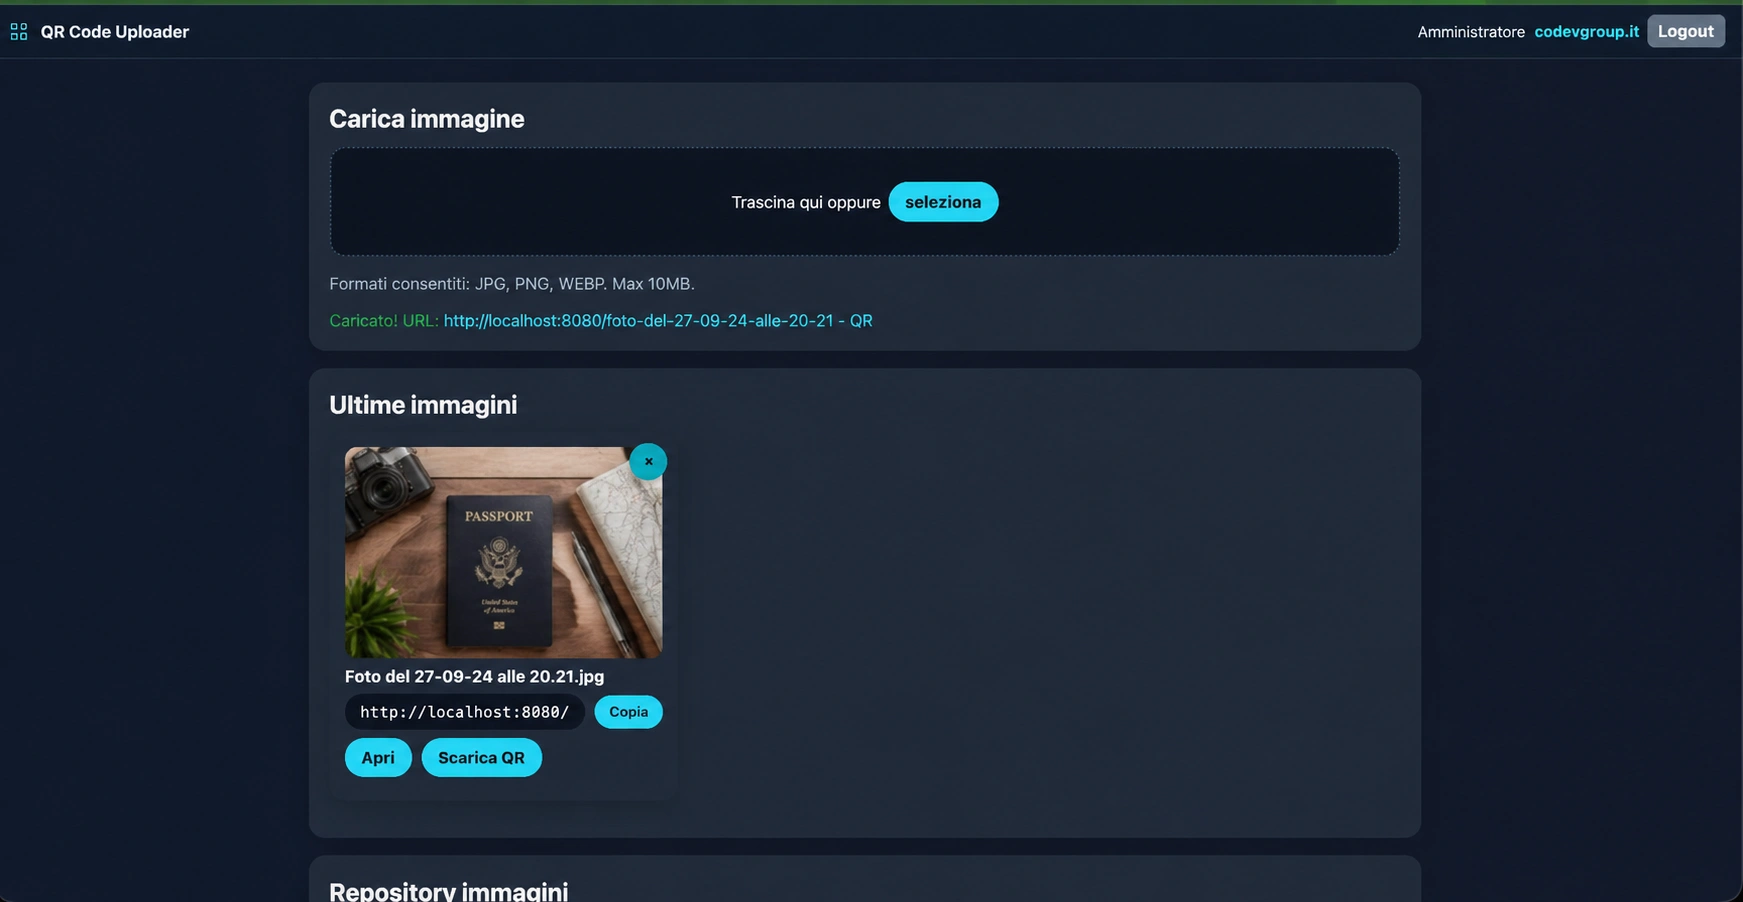
Pick a photo (JPG, PNG or WEBP): the upload starts and you see the preview instantly.
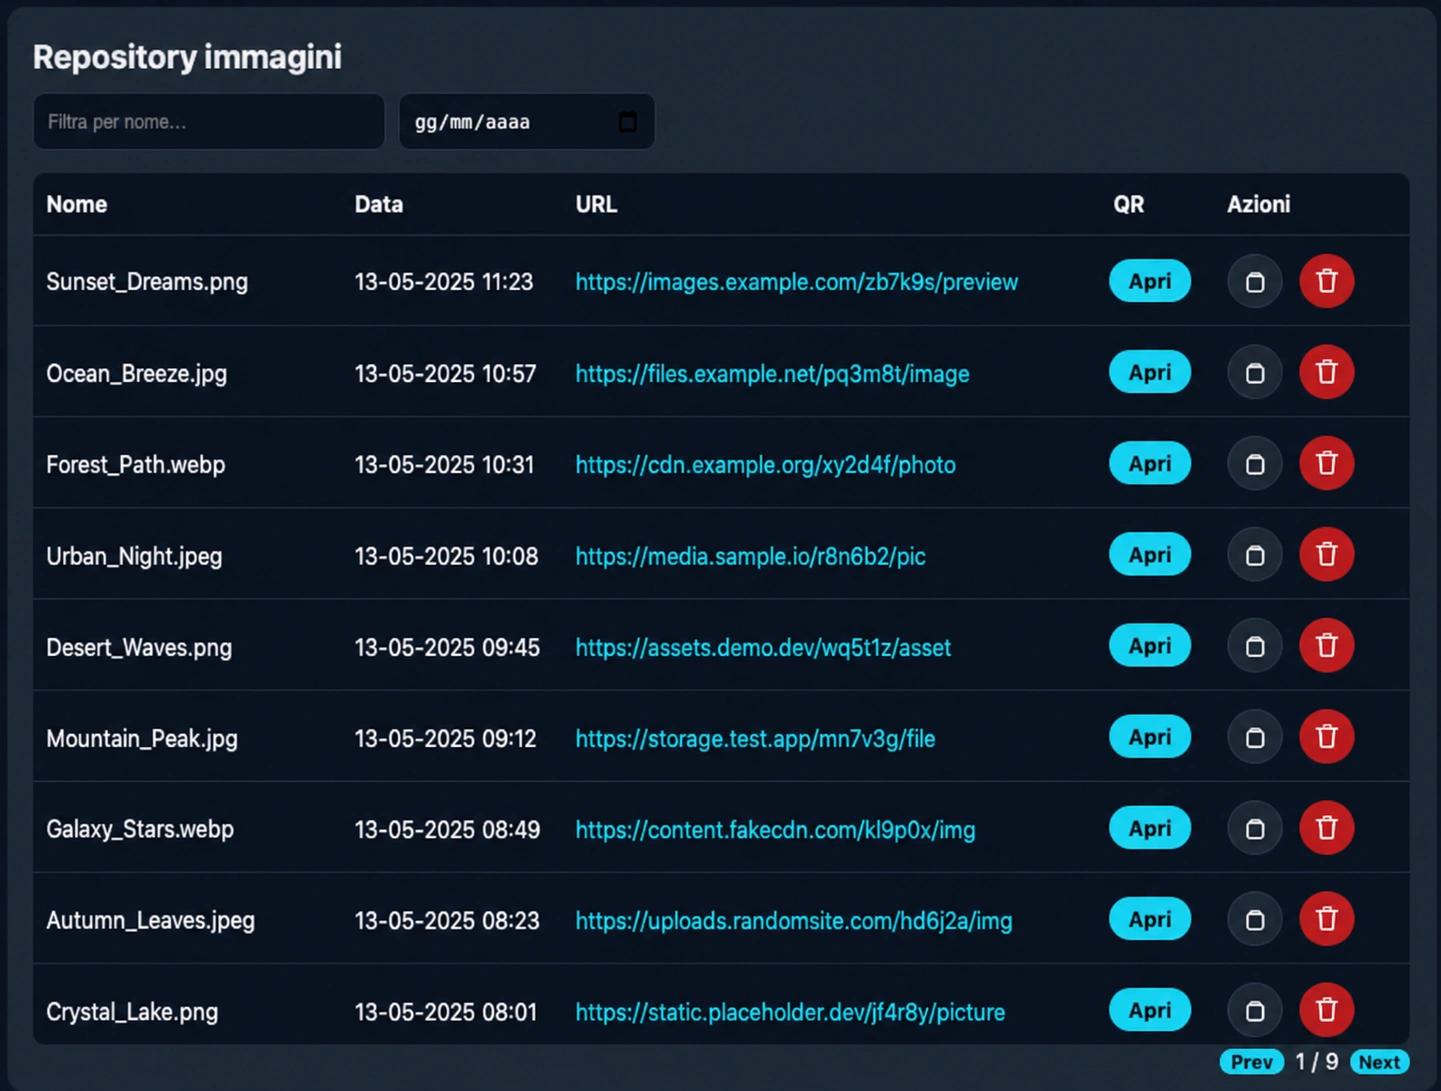
For every image you get the public link and the QR code: copy them, open them or print them.
You can try it right away on your computer with Docker, or publish it on your web hosting. It takes very little.
On your computer
with Docker · to try itOn your site
web hosting · to really use itTwo paths. Pick a method and open the steps: you'll find commands and plain-language explanations.
The simplest way to try it on your computer: Docker sets everything up by itself, you don't have to install anything by hand. You only need Docker Desktop and the project file.
Download Docker Desktop from the official site and install it. Then open it and wait for "Docker is running" to appear.
Extract qrcode-uploader-source.zip into a folder on your computer. Inside you'll find these files:
If you see them, you're in the right folder.
The terminal is the little window where you type a command.
Mac: right-click inside the folder → "New Terminal at Folder".
Windows: click the path bar at the top, type cmd and press Enter.
Type this command and press Enter. The first time, Docker takes a few minutes to set everything up.
The scrolling lines are normal: it means it's working.
When it's done, open the browser and go to this address:
localhost means "your computer".
Log in with the initial credentials and change the password right away.
From the panel, upload a photo in JPG, PNG or WEBP format. The tool instantly creates the public link and the QR code.
If the terminal is still open, press CTRL + C. To stop everything:
To publish it on a real domain you need PHP and a MySQL database: most web hosting already has them. If any step feels tricky, we'll do it for you.
Open your web hosting's file manager (or an FTP program like FileZilla) and copy all the project files into the site's public folder:
Check that these are there: admin.php, config.php, functions.php, view.php.
From your web hosting panel create a new MySQL database and note the 4 access details:
Open phpMyAdmin, choose the database, click Import, select the db/qrcode_uploader.sql file included in the .zip and click Go.
This creates the storage for users, images and QR codes.
config.phpOpen config.php and put in your database and domain details:
$BASE_URL don't add the trailing slash: write https://yourdomain.com, not https://yourdomain.com/.
The images folder needs to be able to receive files. Set the permissions to 755 (if that's not enough, try 775). Avoid 777: it's less secure.
In the browser go to https://yourdomain.com/admin.php and log in with the initial credentials:
The initial password is only for the first login. Change it right away (the project includes a make_hash.php file that helps you create a secure one), then remove it from the server.
Check that Docker Desktop is open and shows "Docker is running". Then try again:
If that's not enough, restart Docker Desktop.
Make sure you're visiting exactly http://localhost:8080/admin.php and that the terminal with docker compose up is still open. If you closed it, restart it from the project folder.
The initial credentials are admin / password. If you can't get in, check that you imported the database file db/qrcode_uploader.sql in phpMyAdmin and try again.
Check in order: the file is JPG, PNG or WEBP; the images folder has 755 permissions; the details in config.php are correct; the file doesn't exceed your web hosting limit (usually 8 or 32 MB).
The QR code is created by an external service (api.qrserver.com): your server needs to be able to reach the internet. If you have a very strict firewall, ask your web hosting support to allow outbound requests.
The access details in config.php are incorrect. Double-check the address, database name, username and password, and that the user has permissions on the database.
A program that "packages" the project and runs it the same everywhere, with nothing to configure by hand.
The online space where your site's files live, reachable from the internet.
The orderly archive where the tool saves users, images and QR codes.
The language the project is written in to run on the server.
The system that manages the database. It's often already included with your web hosting.
Your computer as seen by the browser. localhost:8080 points to port 8080 on your PC.
The little square you frame with your phone camera to instantly open the image link.
The page where you manage the uploaded images and QR codes.
The visual panel to manage the database without typing commands.
Eight quick checks to be sure everything's in place.
The site opens in the browser
Login with username and password works
You changed the initial password
A test photo uploads
The QR code is generated after upload
The images folder can save files
The details in config.php are correct
You removed make_hash.php from the server
We put it online on your domain, customize it with your logo and colors, and leave you just the fun part: uploading images and printing QR codes. We're an Italian software house: tell us what you need it for.
No commitment · we reply same day